
Add a validation option
In the Validation -> Partners section, you can add partners and validation options associated with them.
Each validation option will have a QR code that parkers can scan to receive the validation discount. This lets your building, nearby businesses, events, or other partners provide discounts for validation.
Add a new partner with a validation option
Note: These steps are for if you don't have a partner already set up for the validation you want to associate with them. If you already have a partner with a validation option, and you want to add another option to them, see below.
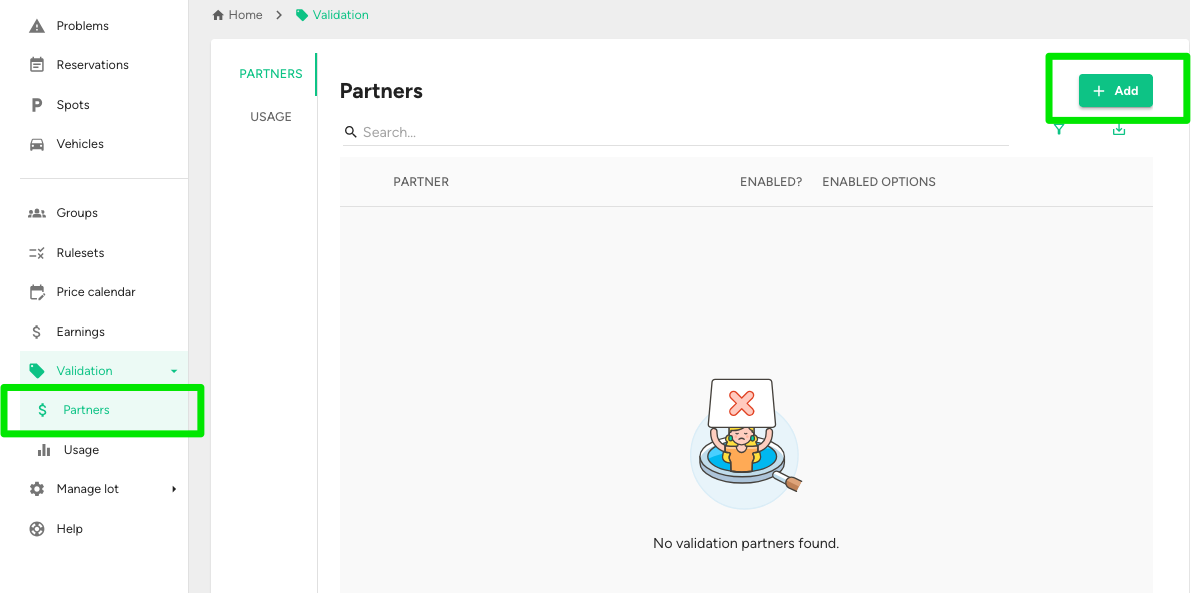
1. In the left menu, click Validation -> Partners.
2. Click the +Add button in the top right.
3. Fill out the fields and make selections.
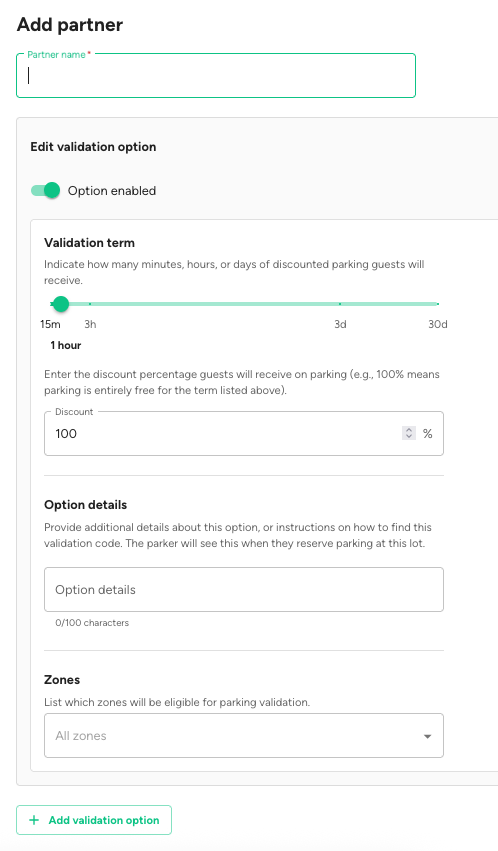
Partner name: The name of the business, event, or other descriptor for the partner.
Option Enabled: Whether or not the validation is active. If disabled, the validation code will not work.
Validation Term: The length and discount amount for the validation. Examples:
A 15-minute, 100% discount means that if someone had a $1 reservation for 1 hour and applied this validation, they would receive a $0.25 refund.
A 1-hour, 100% discount means that if someone had a $1 reservation for 1 hour and applied this validation, they would receive a $1 refund.
Option details: Enter the requirements and instructions for the validation. Parkers will see this.
Example: “Coffee shop customers only. Please ask cashier for validation code. Purchase required.”
Zones: If this validation should only apply to reservations in certain lot zones, set that here. If no zone is selected, it applies to all zones.
Add validation option: This button allows you to set up another validation option for the partner. Partners can have multiple validation options associated with them.
Example: A coffee shop could have a general 15-minute free parking validation, but they could also have a 1-hour validation option they provide in other circumstances.
4. Click Save in the top right.
After you save, a QR code will be generated for the validation option you created.
NOTE: There is a "Regenerate code" button with each QR code. Clicking that invalidates the existing QR code and generates a new one for the validation. Be careful with this, because if a partner has any physical materials with the code and you regenerate it, the code they have printed out will no longer work.
Add a validation option to an existing partner
1. In the left menu, click Validation -> Partners.
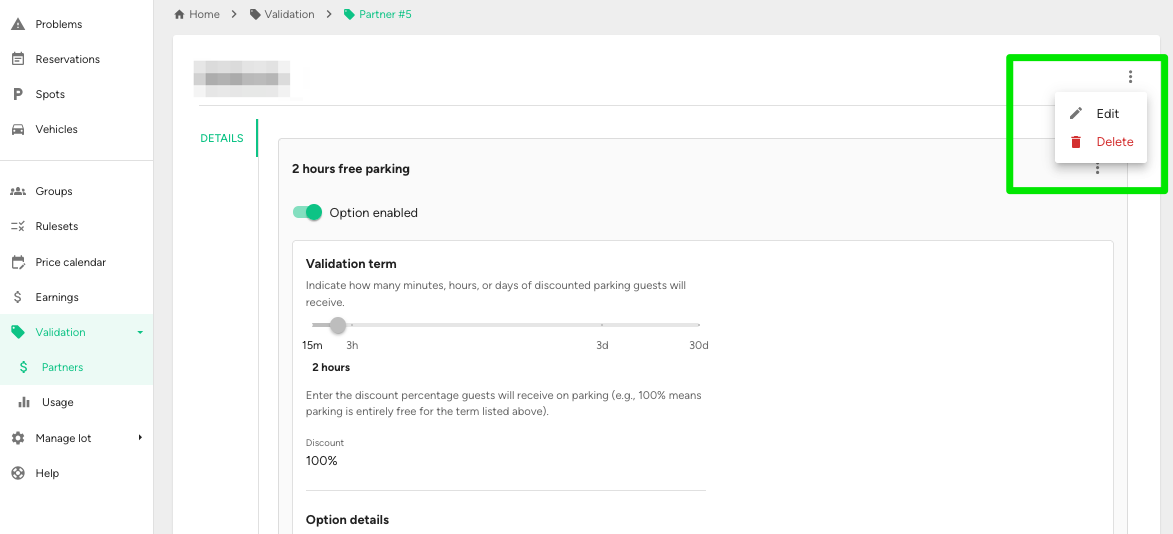
2. In the Partners table, click on the partner you want to add a validation option to.
3. Click the three-dot icon in the upper right, then click Edit.
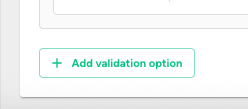
4. Scroll to the bottom of the page and click "Add validation option."
5. Fill out the "Edit validation option" box that appears.
6. Scroll back up and click Save in the top right.