
Introduction to the Web Dashboard
In addition to the many features that are available to a parking manager through Parkade’s app, we also provide a central site where you can get the full view of your parking, as well as take administrative actions.
The Parkade Web Dashboard is accessible only to building admins and owners - residents experience Parkade solely through the app.
Check out this and other articles in the Parkade Web Dashboard Overview section for an explanation of all parts of the Web Dashboard. Then review the How To Articles section for some step-by-step instructions for how to take common actions.
Logging In
The login process is the same as for the Parkade app - enter the phone number on your Parkade account and we’ll text you a code let you sign in.
Login problems
To see the appropriate features in the Web Dashboard, your account’s Role must be either Owner or Admin. That can be set by someone else on your team who already has one of those roles or by the Parkade team.
If you see the following page, your account may not have the correct permissions to view the Web Dashboard.
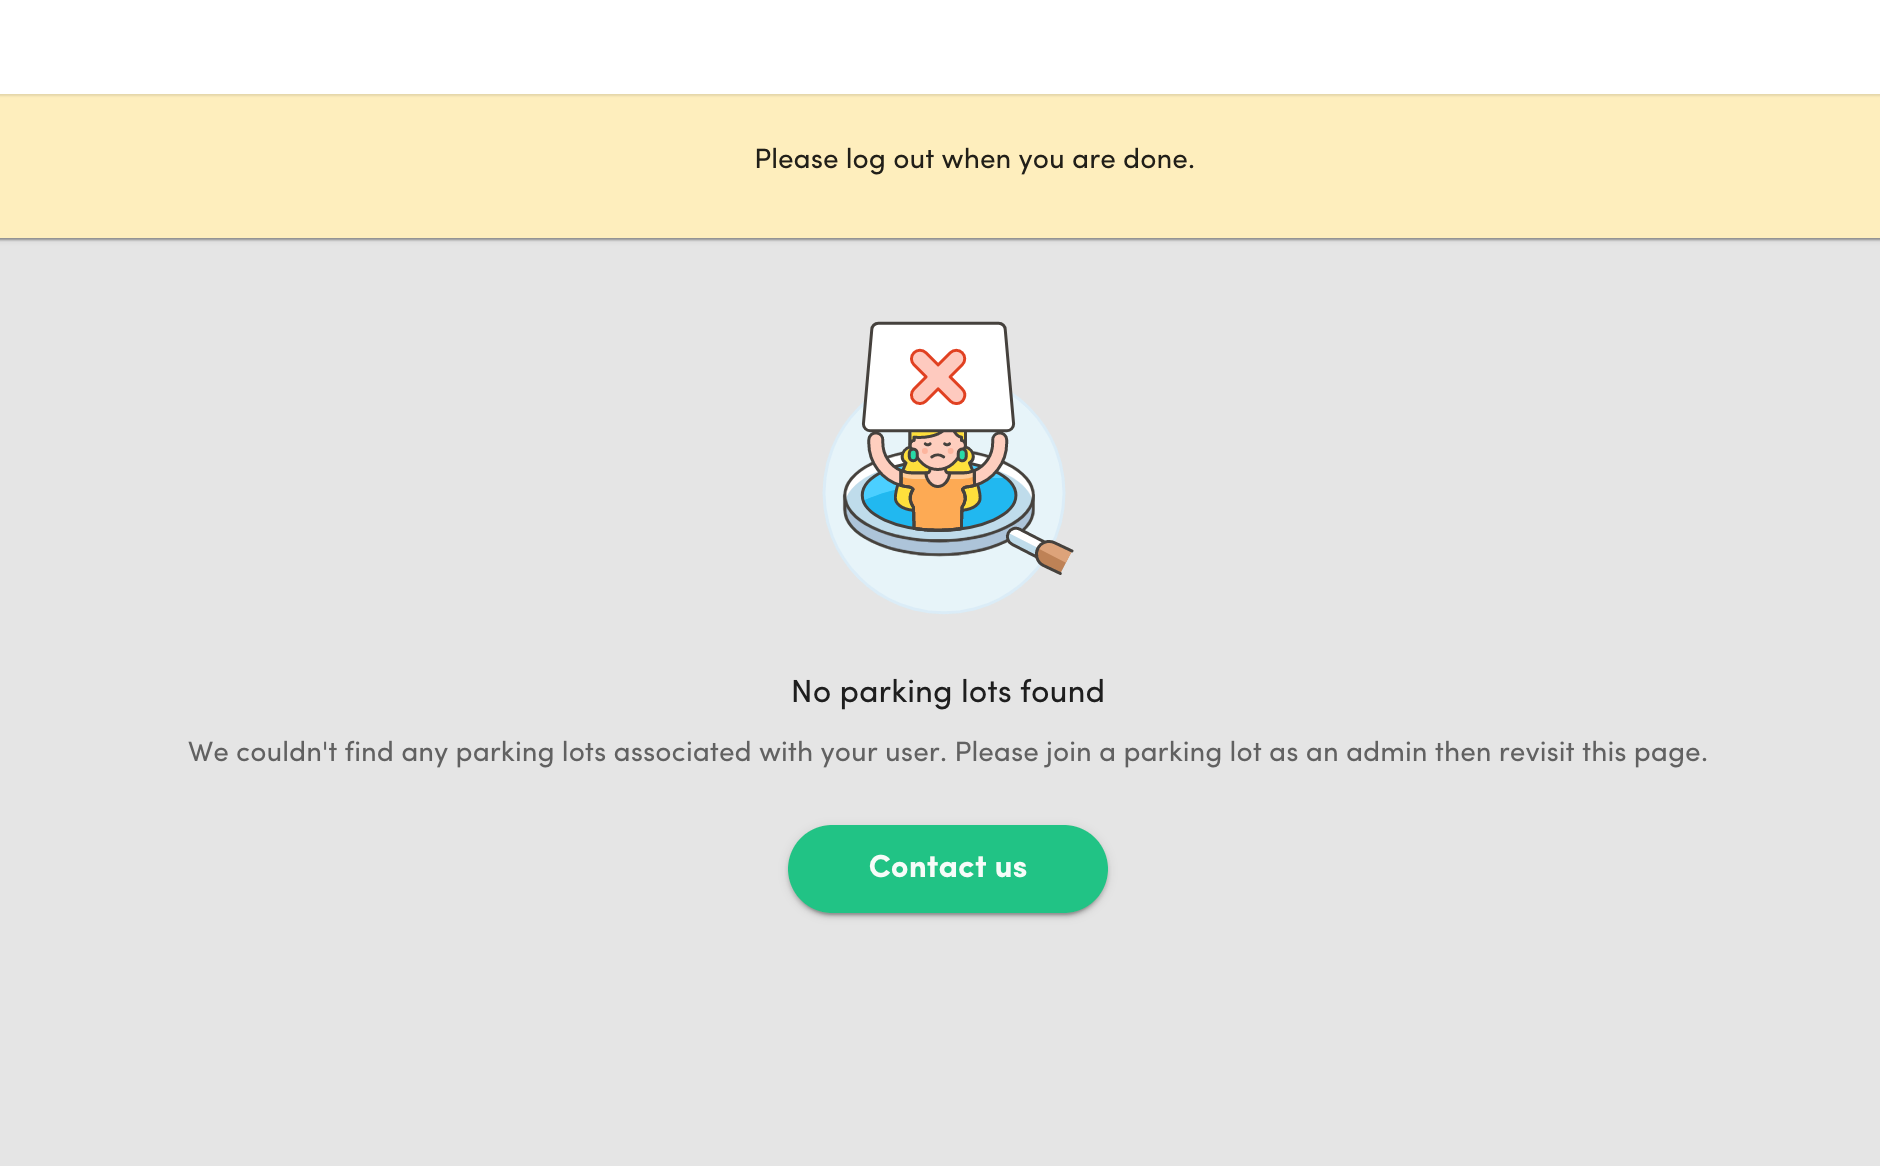
Check with your team to ensure your account is set as an Admin account, or reach out to hello@parkade.com if you can't to resolve the issue.
Selecting a lot
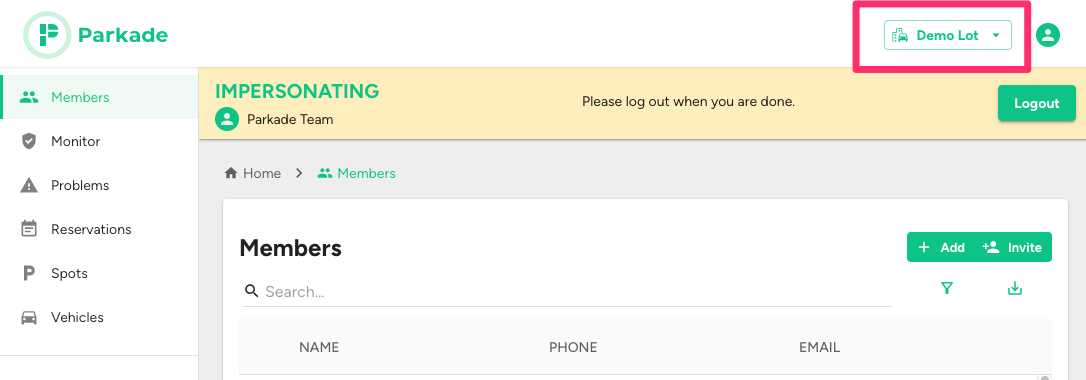
After logging in, you will see the Members section of your lot. In the upper right corner, a drop-down menu will show you what lot you’re viewing.
If you have admin access for multiple lots, you can use the drop-down menu to view and switch between lots.
Make sure you select the correct lot before you make any changes! If you’re viewing the wrong lot and search for something like a user or license plate that’s part of a different lot, you won’t see any results. If you’re viewing the wrong lot and add a member, when they use the Parkade app they’ll see parking options for a lot they shouldn’t be using.
Using tables
The main sections of the Dashboard have tables that you can sort, filter, and export.
Sort
Click on any column heading to sort the whole table by that column.
The first click will sort by ascending order (A-Z, or numbers low to high), the second click will sort by descending order, and the third click will rest the order to what it was before the first click.
You can also hover over a heading, click on the three-dot icon, then select to sort by ascending or descending.
Filter
Click on the filter icon (upside-down triangle) to the right above the column headings.
Select the column you want to filter based on.
Select the Operator to use.
Select or enter a value.
You can also hover over a heading you want to filter by, click on the three-dot icon, then select Filter to bring up the filter menu.
![[video-to-gif output image]](https://usw2.frontkb-cdn.com/attachments/6764748/340097/d33837f2-a414-4a63-925d-724909887520.gif)
For example, if you want to filter the Monitor table to only show spots with the Status of Available:
Click the filter icon.
In the Columns field, select Status.
In the Operator field, select “is.”
In the Value field, select Available.
Export
Click the export icon (arrow pointing down into a tray) on the right side above the column headings.
This exports the whole table (including pages not on the screen) into a .csv file.
If you have a filter enabled, the export will only include the filtered data.
Other notes
You can change the width of any column by hovering over the column headers, clicking and holding on the divider between headers, and then dragging side to side.
You can hide and unhide columns from your view of the table by hovering over a header, clicking the three-dot icon, and then either clicking “Hide column” to hide just that column or clicking on “Manage columns” to see all possible columns, and select ones to hide or unhide.
For almost ever item in a table, you can click on a row to view a page with more details on that item.
Dashboard Sections
Here's an overview of the sections of the Web Dashboard and what they're used for. You can find plenty of more details on how to use these section throughout this Help Center.
Members
Shows all accounts that are or have been associated with the lot.
Where you can invite or add new members, edit account details, and view account information such as reservations and vehicles.
Monitor
Shows all spots, if they are rented or not, spot occupants, and if spots are bookable long-term.
Problems
Shows all problem reports that accounts have made, typically about other vehicles in their spots, but also includes reports like damage to parking spaces.
Reservations
Shows all reservations that have been made, along with renter and spot details.
Spots
Shows all spots, their prices, features, and other details.
Vehicles
Shows all vehicles that are on accounts.
Groups
Shows all groups (if any) that have been created in order to apply rules to accounts.
Rulesets
Shows rules that have been created that can be applied to accounts in order to do things like restrict the number of spots that accounts can reserve.
Earnings
Shows monthly earnings and payout information.
Manage lot
Admin: Lot information such as maximum payout amount, fees, and commission.
Info: Name and addresses for the lot.
Privacy: Settings that determine who can join the lot.
Gate Access: If a lot is configured with gate-access integration, information about gates and buttons for opening them.
Maps: Maps of each parking level or area.
Billing: Details of the lot’s Parkade billing.
Payouts: What account payouts go to.
Spots: Settings that apply to all spots, such as a surcharge for flexible monthly reservations and price limits on spots.
Data Sources: If a location is syncing data with Parkade from their property management system, this shows import information.